
Setting up the fast.ai deep learning course on OSX with Anaconda
October 1, 2017
So I decided to give a try to the free deep learning course published on fast.ai. The first lesson was not too difficult for me as half on it was about setting up things. The other half were mostly things I already knew about deep learning, but it was refreshing to see how things are actually done with real code.
The course recommends AWS, but stingy me didn’t want to pay anything nor going through the registration process. Instead I was determined to make the samples run on my MacMini, hoping performance won’t be too bad.
Setup
Anaconda
Anaconda is a package manager for Python which has the goal to easily provide a scientific environment.
It can be installed with brew casc.
Homebrew and Cascroom should be installed on every developers Mac. Check out the links if you do not have them installed yet.
After typing a simple brew casc install anaconda, brew will download and setup Anaconda for you.
A link to the GUI is also added in your Launchpad, you can find it by looking for Anaconda-Navigator.
From there, Jupyter, which is extensively used in the course can be launched easily.
A browser tab to Jupyter, which is a web application will be conveniently opened.
Missing dependencies
The course depends on a lot of libraries and most, but not all of them are included by default.
The GUI makes it easy to install new packages but first we need to add a new channel to Anaconda.
Channels are the Anaconda equivalent to repositories in apt or yum and make even more packages available when added.
A channel can be added by editing the .condarc file in your home directory.
For the course, we additionally need the conda-forge channel.
Here is the new .condarc file:
channels:
  - defaults
  - conda-forge
ssl_verify: true
From the Anaconda GUI, the package index can now be updated by clicking Update Index... in the environment tab.
Next, the following packages become available and can be installed:
- bcolz
- theano
- keras
Python 3 and Keras 2 support
Turns out that things still do not run properly when downloading the official code. The reason is that the current Anaconda runs on Python3 and has Keras2 installed instead of the required Python2 and Keras1.
I started to adjust code and after fixing a few imports and renamed functions I thought that probably somebody else did this work already.
Very few searches later, I found a nice repository where all the porting work has been done already.
Perfect. It even includes a keras.json file that can be copied to ~/.keras/keras.json with additionally needed settings.
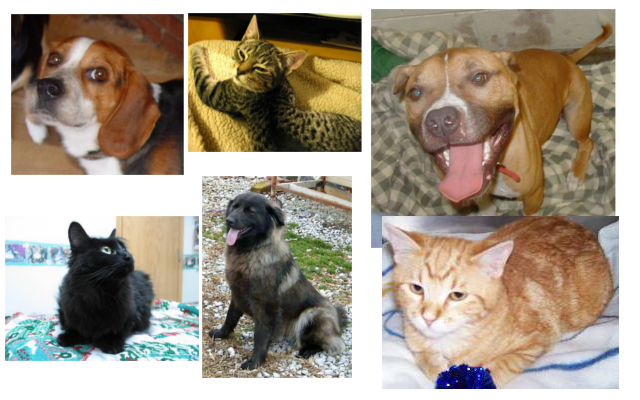
Cats vs Dogs!
The Dataset
The last things that is needed is the cats and dogs dataset.
It must be downloaded and extracted in a directory called data next to the Jupyter notebooks that use it.
cd .../nbs # wherever your notebooks are stored
mkdir data
cd data
wget http://files.fast.ai/data/dogscats.zip
unzip dogscats.zip
rm dogscats.zip
All preparation done! Everything worked great.
Performance
Straight to the point: Yes, you need a GPU! Working with the sample set is generally fast enough but feeding the complete set into the network took several hours on my MacMini.
Well, that was kind of expected. But it is still great to be able to setup things without paying or registering anywhere.